 TARIFF ALERT: Solar prices rising 25-40% in 2025 - Secure American-made independence NOW
for American Patriots
Food Preservation Methods: 5 Mistakes That Spoil Your Supply
Master the techniques your grandparents used to survive lean times. When supply chains break and grocery shelves empty, families who know these food preservation methods are the families who eat. This guide covers the core techniques for turning perishable bounty into shelf-stable security.

TL;DR: Quick Summary (Click to Expand)
+5 Core Food Preservation Methods:
- Pressure canning: Meats and vegetables. Kills botulism. Requires specialized equipment.
- Water bath canning: Fruits, pickles, jams. Easier but only for high-acid foods.
- Dehydrating: Lightweight storage. Fruits, jerky, herbs. Works with or without electricity.
- Fermenting: Zero power required. Probiotics included. Sauerkraut, kimchi, pickles.
- Freezing: Convenient but 100% power-dependent. A liability when the grid fails.
Key insight: Freezing is convenient but 100% power-dependent. When the grid fails, your frozen food becomes a rotting liability. Master at least two non-electric food preservation methods.
The ice storm knocked out power for six days. Your neighbor watched $2,000 worth of frozen meat thaw and spoil. Meanwhile, your canned vegetables, dehydrated fruits, and fermented sauerkraut sat on the shelf, completely unfazed. Your family ate well while others scrambled. That's the difference between convenience and true food security.
What's in This Guide (Click to Expand)
+📘 Free Food Storage Guide
Get our complete guide to building long-term food security. Covers storage methods, shelf life charts, rotation systems, and emergency planning.
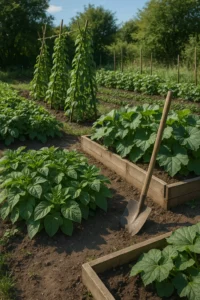
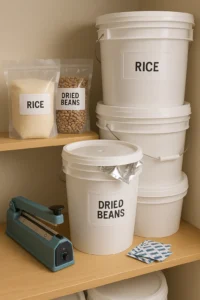
Access Complete Food Storage GuideYou've started stockpiling the basics: rice, beans, wheat berries. Good. You've got the potential for calories locked away. But what about real food? What about that bumper crop from your survival garden, that half-price score on meat from the local butcher?
Your deep pantry of dry goods is the strategic reserve. Food preservation methods are the tactical advantage. That's how you turn perishable bounty into shelf-stable assets.
Relying solely on your refrigerator and freezer is a fool's game when the grid is as reliable as a politician's promise. One good storm, one blackout that stretches into days, and suddenly your frozen fortress becomes a putrid swamp of wasted food.
According to the National Center for Home Food Preservation, proper food preservation methods can safely store food for 1-5 years when done correctly. True food security means mastering these ancient arts.
5 Food Preservation Mistakes That Spoil Your Supply
These mistakes destroy thousands of dollars worth of preserved food every year. Avoid them and your stockpile survives.
Mistake #1: Using Untested Recipes
Grandma's recipe might taste great but kill you with botulism. Food preservation methods require precise acidity levels, processing times, and temperatures. The science behind safe preservation isn't optional. Always use tested recipes from reliable sources like the USDA or Ball Blue Book.
Mistake #2: Ignoring Altitude Adjustments
Water boils at lower temperatures at higher elevations. If you live above 1,000 feet, you must increase processing times or pressure. Failure to adjust means under-processed food that can harbor dangerous bacteria.
Mistake #3: Relying Only on Freezing
Freezing is convenient but 100% power-dependent. Extended outages happen. Power failures during extreme weather are common. Every pound of food in your freezer is a bet that the electricity stays on. Diversify your food preservation methods.
Mistake #4: Improper Storage Conditions
Light, heat, and moisture destroy preserved food. Canned goods stored in hot garages lose quality fast. Dehydrated food absorbs moisture and spoils. Store all preserved food in cool, dark, dry locations for maximum shelf life.
Mistake #5: Skipping the Learning Curve
Food preservation methods have a learning curve. The time to learn is now, not during a crisis. Practice with small batches. Make mistakes when the stakes are low. Build skills before you need them.
🦶 Wattson's Wisdom: "Your Freezer is a Liability"
"I've watched families lose $2,000 worth of frozen meat in a single extended outage. Meanwhile, my canned goods sat pretty on the shelf, unfazed. Every pound of food in your freezer is a bet that the power stays on. Learn food preservation methods that work without electricity, and you're never gambling with your food supply again."
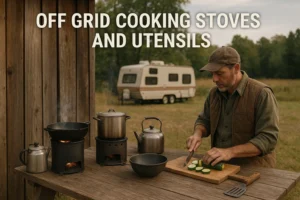
Method 1: Pressure Canning - The Heavyweight Champion
Canning uses heat to destroy microorganisms and creates an airtight vacuum seal that keeps contaminants out. Done right, these food preservation methods preserve food safely for years.
Water Bath Canning
For high-acid foods ONLY: Most fruits, pickles, jams, jellies, some tomatoes with added acid. Jars filled with food are submerged in boiling water (212°F) for a specific time.
Relatively simple equipment needed: large pot, rack, jars, lids, rings. This method does NOT get hot enough to kill botulism spores in low-acid foods.
Pressure Canning
Mandatory for low-acid foods: ALL vegetables, meats, poultry, fish, soups, stews. Uses a specialized pressure canner that reaches temperatures well above boiling (240-250°F) under pressure. This extreme heat destroys botulism spores.
⚠️ BOTULISM WARNING - THIS IS NOT OPTIONAL
Botulism is invisible, odorless, tasteless, and deadly. Never pressure can low-acid foods without proper equipment and tested recipes. Follow processing times and pressures exactly. This is the one area where shortcuts can kill you or your family.
Recommended Pressure Canner
For serious food preservation methods, the All American Pressure Canner is the standard. Metal-to-metal seal means no gasket to replace. Built like a tank, lasts generations. Made in USA.
Essential Canning Supplies
- Mason Jars: Quart and pint sizes. Reusable forever. Stock up when they're on sale.
- Lids and Bands: Lids are single-use for safety. Bands are reusable. Keep extras.
- Jar Lifter: Non-negotiable safety tool. Don't fish out boiling jars with tongs.
- Food Preservation Books: Get tested recipes with proper processing times.
The Good: Long shelf life (years). Preserves food in ready-to-eat state. Great for fruits, vegetables, meats, meals-in-a-jar.
The Bad: Requires specific equipment. Time-consuming and hot work. Safety is paramount with pressure canning.
The Verdict: Essential food preservation method for serious preppers. Master water bath first, then invest in a pressure canner.
Method 2: Dehydrating - Remove the Water, Stop the Rot
One of the oldest food preservation methods known. Remove the water, and most microorganisms can't survive. Dehydrating uses low heat and air circulation to evaporate moisture.
Dehydrating Methods
- Electric Dehydrator: Most controllable. Stackable trays, heating element, fan. Precise temperature control.
- Sun Drying: Requires hot, dry, sunny, breezy conditions. Zero energy cost but weather-dependent.
- Oven Drying: Works on lowest setting with door ajar. Energy-intensive and harder to control.
What Works Well for Dehydrating
- Fruits: Apples, bananas, berries. Great snacks and fruit leathers.
- Vegetables: Onions, peppers, carrots, zucchini. Perfect for soups and stews.
- Herbs: Preserve your garden herbs at peak flavor.
- Jerky: Requires careful handling and often pre-treatment.
Essential Dehydrating Supplies
- Food Preservation Kits: Get proper equipment for consistent results.
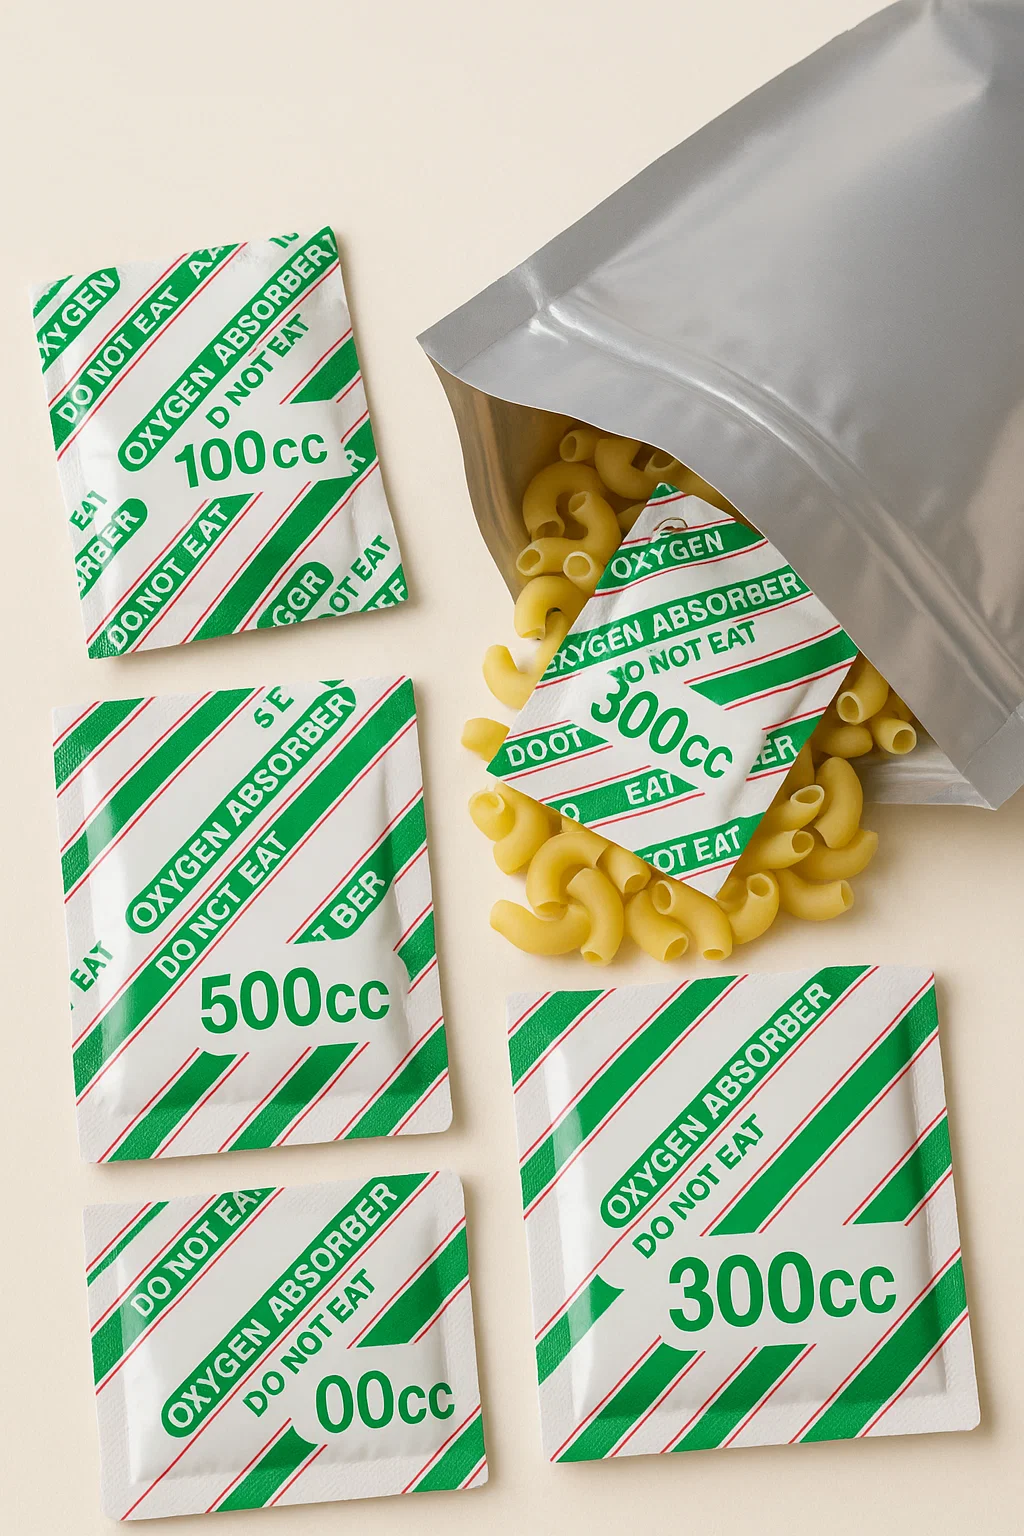
- Vacuum Sealer: Dehydrated food reabsorbs moisture. Vacuum seal for maximum shelf life.
- Food Preservation Bags: For storing dried goods properly.
The Good: Creates lightweight, compact food perfect for storage or bug-out bags. Preserves nutrients well at low temps.
The Bad: Requires electricity (for dehydrators) or specific weather (for sun drying). Texture changes significantly.
The Verdict: Excellent food preservation method for fruits, vegetables, herbs, and jerky. Good complement to canning.
Think about what happens when the trucks stop running. Grocery stores have 3 days of inventory. When panic buying starts, shelves empty in hours. The families who master multiple food preservation methods aren't worried. They've got months of food on their shelves that doesn't need refrigeration, doesn't depend on the grid, and doesn't care what happens to the supply chain.
Method 3: Fermenting - Zero Power, Maximum Nutrition
Fermentation uses beneficial bacteria to break down sugars and create acids that preserve food. These food preservation methods require zero electricity and actually increase nutritional value.
How Fermentation Works
Salt inhibits bad bacteria and draws out water. An anaerobic environment is created with brine covering the food. Beneficial bacteria naturally present on vegetables do the work. The resulting acids preserve food and create unique tangy flavors.
What Works Well for Fermenting
- Sauerkraut: Shredded cabbage with salt. The gateway ferment for beginners.
- Kimchi: Korean fermented vegetables. Spicy and probiotic-rich.
- Fermented Pickles: Real pickles, not the vinegar kind. Complex flavor profile.
- Fermented Hot Sauce: Peppers plus time equals incredible flavor.
The Good: Creates unique flavors. Enhances digestibility. Adds probiotics. Requires no heat or electricity.
The Bad: Requires specific techniques. Can result in mushy textures if done incorrectly. Shorter shelf life than canning.
The Verdict: Fantastic food preservation method for vegetables and adding variety. Start with sauerkraut.
Method 4: Freezing - The Power-Hungry Stopgap
Everyone knows freezing. Toss it in a bag, chuck it in the icebox. Simple. But of all food preservation methods, freezing carries the most risk.
The Good: Easy, requires minimal prep. Excellent quality preservation for months.
The Bad: 100% dependent on continuous power. Grid goes down for more than a day or two? Your entire frozen stash becomes a ticking time bomb. Freezer burn ruins texture if not packaged properly.
The Verdict: Convenient for short-term storage with reliable power. Terrible primary strategy for grid-down preparedness. Use it, but have non-electric backup methods.
Freezing Equipment
- Vacuum Sealer: Prevents freezer burn, extends storage life 3-5x.
- Chest Freezer: More efficient than upright, holds cold longer during outages.
- Heavy-Duty Freezer Bags: Use proper bags and remove excess air.
Grid-Down Reality: Your freezer stays cold for 48 hours IF YOU DON'T OPEN IT. After that, you better have a plan.
🦶 Wattson's Wisdom: "Don't Put All Your Food in One Basket"
"The families who survive hard times aren't the ones with the most food. They're the ones with the most options. Can some meat. Dehydrate your garden harvest. Ferment your cabbage. Freeze what you can. When one method fails, you've got backups. Diversify your food preservation methods like you diversify your income."

🥫 Free Canning Safety Checklist
Get our step-by-step safety checklist for pressure canning and water bath canning. Avoid the mistakes that spoil food or worse.
Get Canning Safety GuideFood Preservation Methods: Side-by-Side Comparison
| Method | Shelf Life | Power Required | Best For | Difficulty |
|---|---|---|---|---|
| Pressure Canning | 1-5 years | Heat source only | Meats, vegetables, soups | Intermediate |
| Water Bath Canning | 1-2 years | Heat source only | Fruits, pickles, jams | Beginner |
| Dehydrating | 6-12 months | Electric or sun | Fruits, jerky, herbs | Beginner |
| Fermenting | 3-12 months | None | Vegetables, condiments | Beginner |
| Freezing | 3-12 months | Continuous electric | Everything (with power) | Easiest |
Frequently Asked Questions (Click to Expand)
+Preserve the Harvest, Preserve Your Freedom
The truly self-reliant operator masters multiple food preservation methods. Turn that garden glut into jars that mock the winter. Transform cheap bulk buys into years of security. Stop being a slave to the sell-by date and the whims of the supply chain.
Get Complete Food Storage Guide🤖 Got Specific Questions?
Get personalized answers about food preservation methods, storage conditions, and equipment recommendations for your situation.
Use Free GPT AssistantDisclosure: We may earn a commission from qualifying purchases. We only recommend products we have tested or thoroughly researched.