
Energy Independence
for American Patriots
for American Patriots
TARIFF ALERT: Solar prices rising 25-40% in 2025 - Secure American-made independence NOW
This food storage pest control guide solves the nightmare nobody warns you about: weevils already in your grain, moths flying through gaps, rodents chewing through "airtight" containers. Your $500 investment turns to toxic waste without proper protection.
You spent $500 on rice, beans, and oats. Sealed them in buckets. Stored them in the basement. Six months later, you open a bucket to check your investment.
Weevils. Hundreds of them. Crawling through what was supposed to feed your family for months. Or moths—webbing everything together into inedible clumps. Or mice—chewed through the lid, left droppings in your food supply.
Your $500 is now toxic waste. This is why food storage pest control matters more than the food itself.
Biggest threats: Weevils (already in grain), pantry moths (fly in), rodents (chew through everything weak).
Gold standard: Food-grade buckets + mylar bags + oxygen absorbers = triple barrier.
Critical mistake: Storing in cardboard boxes or thin plastic bins.
The math: One female weevil = 6,000 offspring in 6 months.
Bottom line: Container integrity is everything. Skip one layer, lose your investment.
Weevils: Already in grain as microscopic eggs. Hatch at room temperature with oxygen. Oxygen-free environment kills eggs and adults.
Pantry Moths: Fly in through vents, lay eggs on food surfaces. Webbing ruins entire containers. Physical barriers essential.
Rodents: Chew through cardboard, thin plastic, even some bucket lids. Need thick HDPE containers + gamma seal lids.
Here's what they don't tell you about food storage pest control:
The bugs are already in the food when you buy it.
Weevil eggs. Moth larvae. Sitting dormant in that bag of rice from the grocery store. Waiting for the right conditions to hatch. Invisible to the naked eye.
When they do hatch? One female weevil lays 300-400 eggs. In 6 months, that's 6,000 weevils turning your grain into powder. And you won't know until you open the bucket.
"BPA-free plastic bins!" — Rodents chew through them.
"Airtight containers!" — Moths crawl through microscopic gaps.
"Stackable storage!" — Weevils already inside don't care about stacking.
Your food storage isn't safe because you bought buckets. It's safe because you understand the threat. Weevils are already in the grain—eggs waiting to hatch. Moths will fly in through any gap. Rodents will chew through weak containers. Hope is not a pest control strategy.
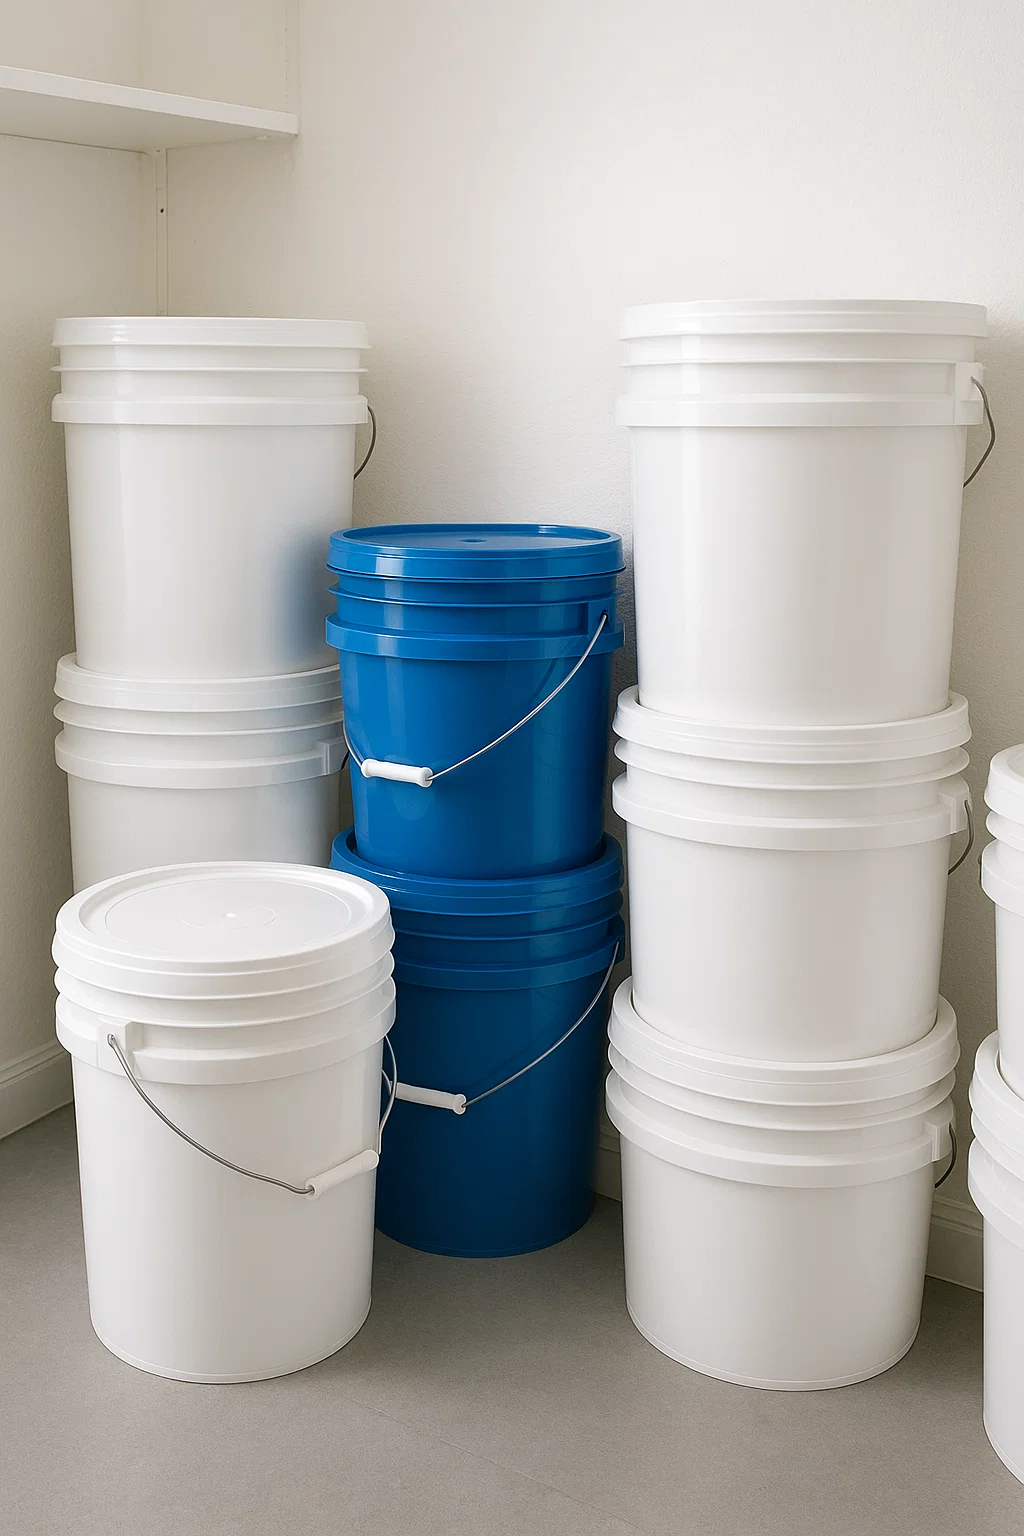
5-6 gallon HDPE #2 buckets with gamma seal lids. Not because they're trendy—because rodents can't chew through thick HDPE plastic. Gamma seals create actual airtight barriers, not marketing "airtight."
Typical bucket capacity: 35 lbs rice, 35 lbs wheat berries, 30 lbs beans, 25 lbs sugar.
Gamma Seal Lid Food Storage Buckets — Thick HDPE plastic rodents can't penetrate. The foundation of effective food storage pest control.
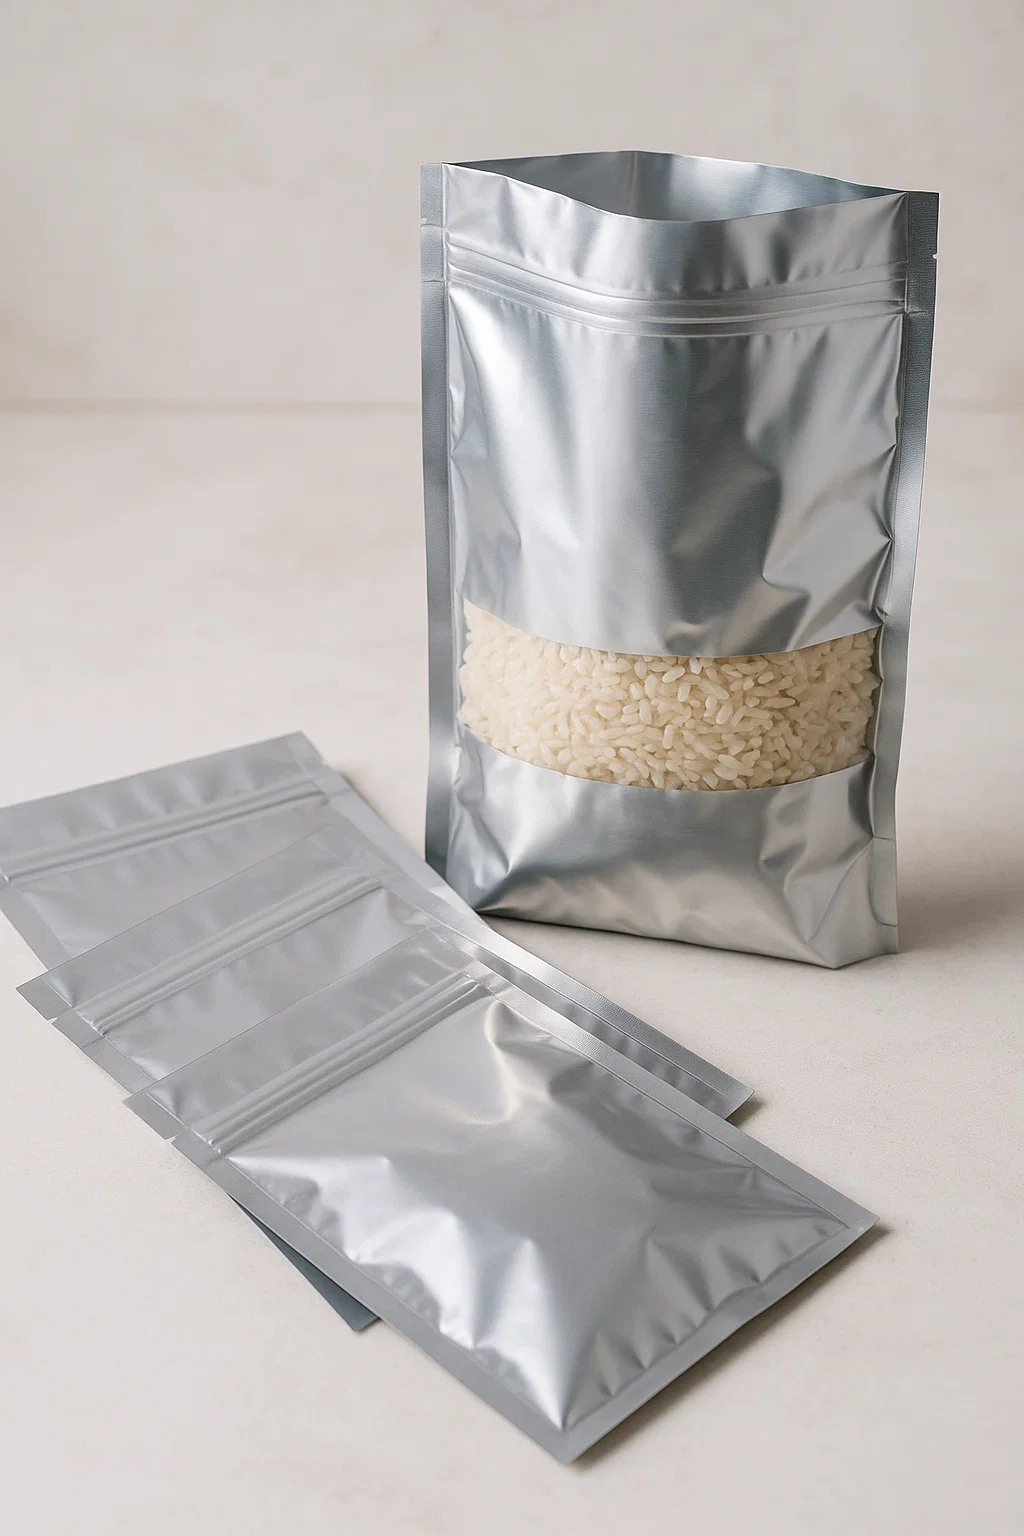
Buckets alone aren't enough. Weevils are already inside your food. Moths can squeeze through bucket seal gaps. You need mylar bags INSIDE buckets.
Why mylar works for food storage pest control:
Creates oxygen-free environment when sealed with oxygen absorbers. Kills weevil eggs and larvae (they need oxygen to survive). Blocks light (prevents nutrient degradation). Provides moisture barrier (prevents mold). Creates additional physical barrier against moths.
The kill mechanism. Oxygen level drops to near zero inside sealed mylar. Weevil eggs suffocate. Adult weevils die. Moth larvae can't survive. Without oxygen absorbers, mylar bags are just fancy packaging.
The process: Place mylar bag inside bucket. Fill with dry food. Add oxygen absorber (300-500cc for 5-gallon bag). Heat seal mylar bag shut. Secure bucket lid. Done—20-30 year shelf life.
Mylar bags + oxygen absorbers kit — Creates oxygen-free kill zone for insect eggs. Get 5-mil thickness minimum.
You don't leave your truck unlocked in town. You don't leave your tools out in the rain. Why would you store $500 worth of food in containers that can't stop a mouse? Food storage pest control isn't paranoia—it's protecting an investment that might save your family.
| Container Type | Weevils | Moths | Rodents | Verdict |
|---|---|---|---|---|
| Cardboard Boxes | ❌ None | ❌ None | ❌ None | Useless |
| Thin Plastic Bins | ❌ None | ⚠️ Gaps | ❌ Chewable | Marketing Lies |
| Glass Jars | ❌ Eggs inside | ✅ Sealed | ✅ Can't chew | Small-scale only |
| Food-Grade Buckets | ❌ Eggs inside | ⚠️ Seal gaps | ✅ Too thick | Good foundation |
| Buckets + Mylar + O2 | ✅ Kills eggs | ✅ Double barrier | ✅ Triple protection | GOLD STANDARD |
Complete list of everything you need for proper food storage pest control—containers, mylar, absorbers, and suppliers.
GET FREE CHECKLISTBest containers in the world won't help if you store them where pests thrive.
Temperature swings 40°F to 110°F (accelerates egg hatching). Rodent highways through walls and ceiling gaps. Moisture from temperature changes. Direct pest access from outdoors. Your sealed buckets? Rodents will gnaw test holes in every lid.
Advantages: Cooler temperatures slow pest reproduction. More stable humidity if dry. Away from outdoor pest entry points.
Dangers: Flooding risk (raise containers off floor). Moisture/humidity (use dehumidifier). Foundation gaps (seal entry points).
Store buckets on pallets or shelving 6+ inches off basement floor. Keeps containers dry. Makes rodent nests visible underneath. Allows air circulation to prevent moisture buildup.
Climate-controlled space. Stable temperature. Away from outdoor pest routes. This is where your food storage belongs for optimal food storage pest control.
Every 10°F temperature increase cuts shelf life in half. That garage swinging from 40°F to 110°F isn't just uncomfortable—it's actively destroying your food and accelerating pest hatching. Food storage pest control starts with stable, cool temperatures. Interior storage wins.
You can't "set and forget" food storage. Regular inspection catches problems before they destroy everything.
1. Visual scan: Look for chewed containers, droppings, webbing around lids.
2. Smell test: Rancid odors indicate spoilage or pest activity.
3. Container integrity: Check bucket lids, mylar seals for damage.
4. Sample testing: Open one container per inspection, examine contents.
5. Environment check: Verify temperature, humidity stability.
Tiny holes in mylar bags. Fine powder below buckets. Webbing near lids. Musty odors. ANY of these = full inspection of all containers required immediately.
You opened a bucket. Saw bugs. Now what?
Move affected container away from clean storage immediately. Don't open other containers in same area (spreads contamination).
Light infestation (few bugs, no webbing): Freeze grain for 72 hours (kills bugs/eggs). Sift out dead bugs. Repack in fresh mylar with oxygen absorbers. Food is safe after treatment.
Heavy infestation (lots of bugs, webbing, powder): Discard contaminated food (not worth health risk). Clean container thoroughly with hot soapy water. Inspect all neighboring containers before returning to storage.
Review what failed in your food storage pest control:
No oxygen absorbers? Eggs survived. Poor mylar seal? Moths got in. Garage storage? Temperature let eggs hatch faster. Fix the failure point. Don't repeat it.
Yes. Most grains, beans, and flour contain microscopic weevil eggs when purchased. They're invisible to the naked eye but hatch at room temperature with oxygen present. Oxygen absorbers in sealed mylar bags kill eggs by eliminating the oxygen they need.
Thick HDPE #2 food-grade buckets are extremely difficult for rodents to penetrate. They'll test bite but typically can't chew through. Thin plastic bins, cardboard boxes, and fabric bags are easily destroyed. Always use thick food-grade buckets with gamma seal lids.
Yes. Buckets provide rodent protection. Mylar bags with oxygen absorbers create oxygen-free environment that kills insect eggs. Using both creates triple-barrier food storage pest control that achieves 20-30 year shelf life. Skip either layer and you're gambling.
No. Garages experience temperature swings from 40°F to 110°F. Heat accelerates pest egg hatching and food degradation. Every 10°F increase cuts shelf life in half. Garages also provide easy rodent access. Store food in climate-controlled interior spaces.
Light infestation: Freeze grain 72 hours, sift out dead bugs, repack in fresh mylar with oxygen absorbers. Heavy infestation with webbing: Discard contaminated food, clean container, inspect all nearby containers. Then fix the failure point in your food storage pest control system.
Quarterly minimum. Check for chewed containers, droppings, webbing, and odors. Open one sample container per inspection to verify contents. Early detection prevents losing your entire investment to a problem that spreads.
Your food storage isn't safe because you bought buckets. It's safe because you built triple-barrier protection: thick food-grade buckets rodents can't penetrate, mylar bags with oxygen absorbers that kill insect eggs, and climate-controlled storage that doesn't accelerate hatching.
Skip any layer, and you're gambling with your food security. Build all three, and your storage survives decades.
The pests are coming. They're already in your grain as microscopic eggs, waiting. Your containers either stop them or don't. Food storage pest control isn't optional—it's the difference between an investment and expensive garbage.
Choose your containers wisely. Your family's food supply depends on it.
Affiliate Disclosure: We earn commissions from qualifying Amazon purchases. This doesn't affect our recommendations—we only feature products we personally use and trust. See our full disclosure.